 As part of #WORLDANIMALDAY (October 4th,) let’s give our furriest friends some extra love! To be honest, though, I give my beloved pups healthy treats very often… sometimes earned, but sometimes just because I love them immeasurably.
If you’re an animal-lover, one of the recent buzz phrases is “human-grade” food for dogs. Well, with our world full of commercialized pseudo-foods, it’s hard to make heads or tails (couldn’t help it) out of that. That’s why homemade meals and snacks with sustainably sourced ingredients are so key to our health and that of our loved ones!
 Super quick and super easy… try this simple recipe for FROYO FOR PUPS!
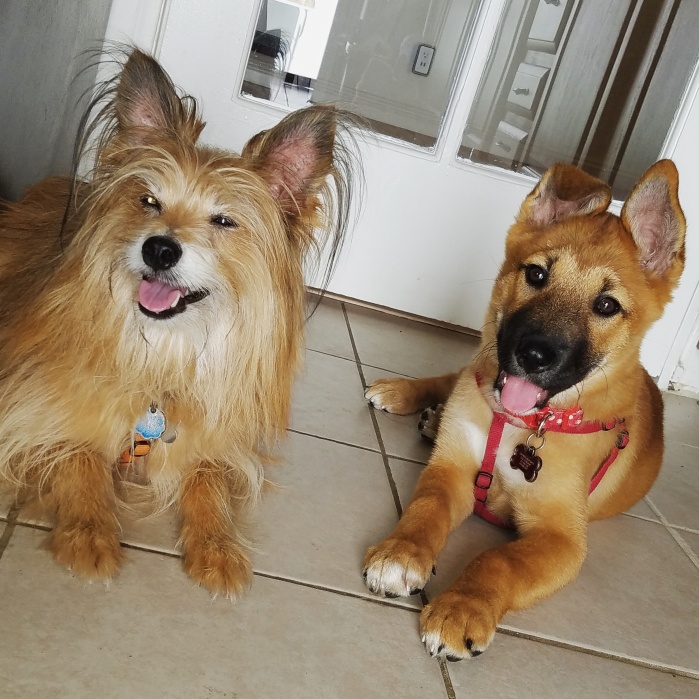
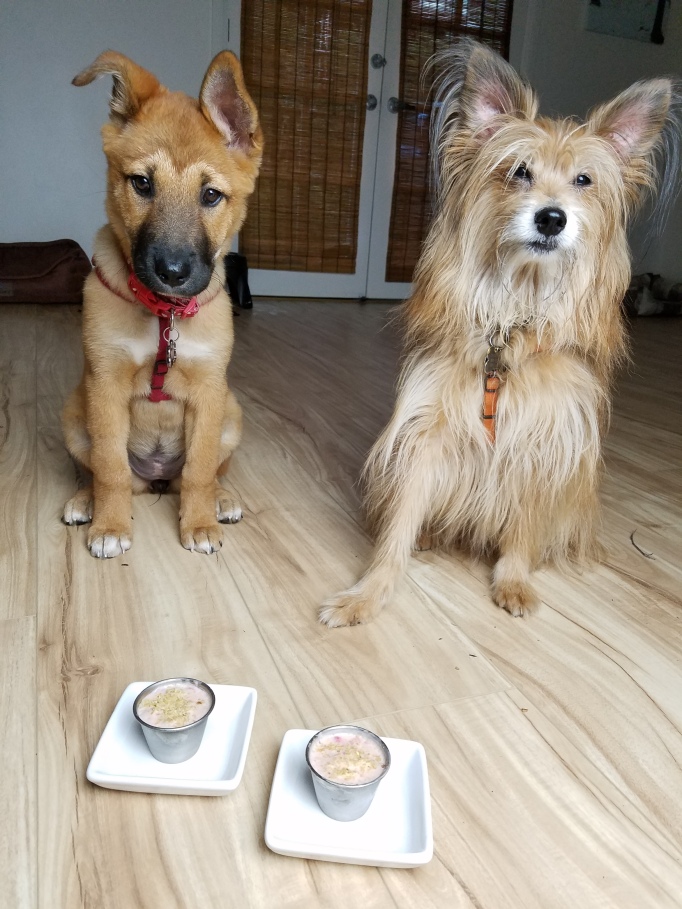
They are so well behaved, I can’t help but love them more!
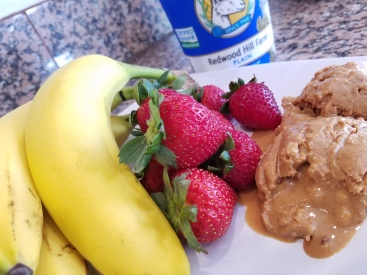
INGREDIENTS:
1.5 cups or goat yogurt (I like humane certified brand Redwood Hill Farm.)
1 cup berries of your choice or skip and sub soaked dates
1 cup unsalted peanut butter
1.5 bananas (defrosted from frozen make it easier to mash up)
3 Tablespoons of ground flax seed
DIRECTIONS:
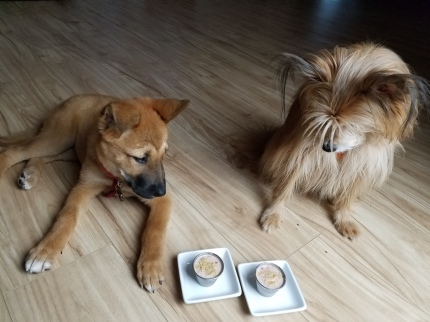
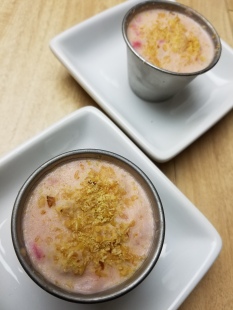
Mash up the fruit in a bowl, add yogurt and mix together. Add peanut butter and mix again. Pour into bowls ready to freeze. Sprinkle each with flax seed. Freeze and pull out anytime for you and your pups! You can add these frozen gems to your own smoothies. I LOVE THAT MY FURBABIES AND I CAN SHARE A HEALTHY TREAT!! If your pup is extra finicky, increase the amount of peanut butter by 1/2 cup and decrease the fruit.
 I let Rocky and Tessa lick up the bowls and they couldn’t get enough!
I like to offer extra special treats like this for the times I need to leave the house…it makes them happy and occupies them for a bit.
ENJOY THE LOVE AND SHARED SWEETNESS WITH YOUR PUP!
Follow Rocky the Rescue and his sister Contessa Bear Smith on IG : http://www.instagram.com/rockytherescuedog and FB: http://www.facebook.com/rockytherescue for their ongoing sibling adventures! Or http://www.ROCKYTHERESCUE.com . 🙂
You can see how much these pups love this treat on a video to be released on World Animal Day http://www.instagram.com/eatscommunity.org !
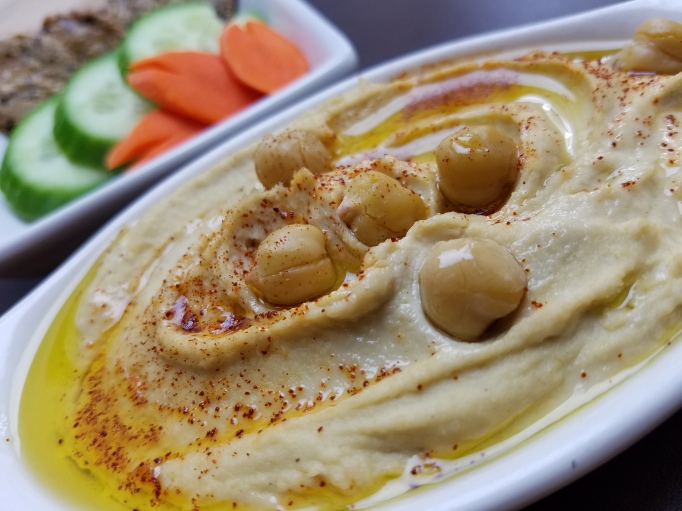


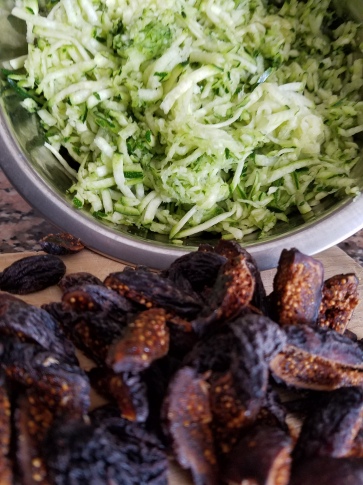
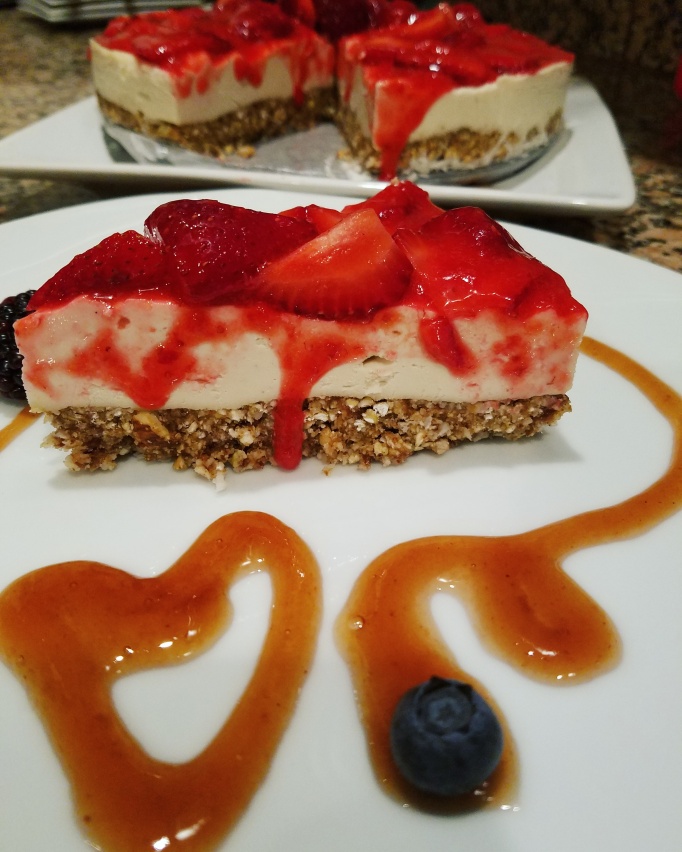 BEAUTIFUL AND DELICIOUS TREAT FOR YOUR FAMILY OR HOUSEGUESTS…with some overnight soaking, putting this together is pretty simple! Please use only organic or local berries not sprayed with pesticides grown by farmers you know and trust.
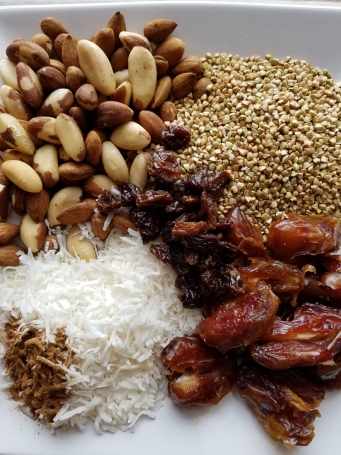 CRUST INGREDIENTS:
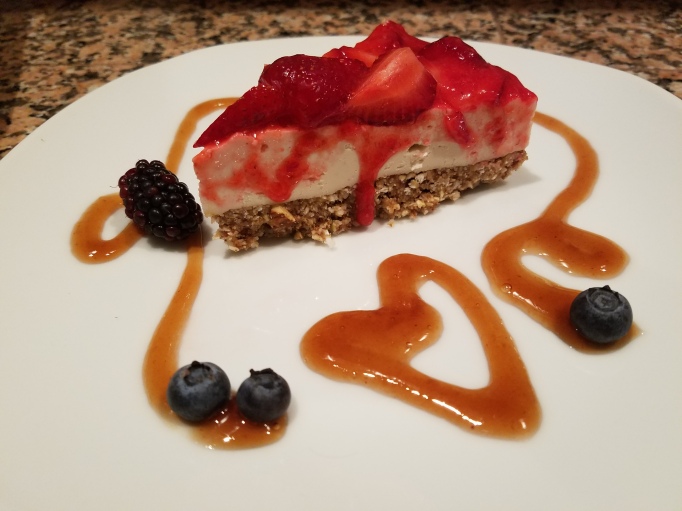

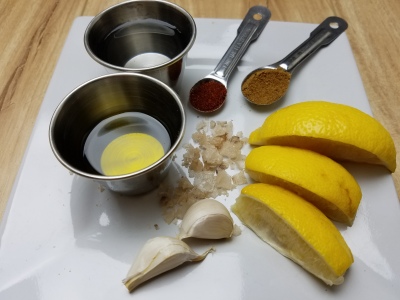
 INGREDIENTS:

